Thursday, 14 June 2012

Pond Project #2 - 13/6/2012

I had a rough idea on what I wanted my
pond to look like prior to starting this project.
First step was to establish a border 
around the front and sides of the pond.

Digging out a border around the front and sides.

Borders dug out.

Still a long way to go.

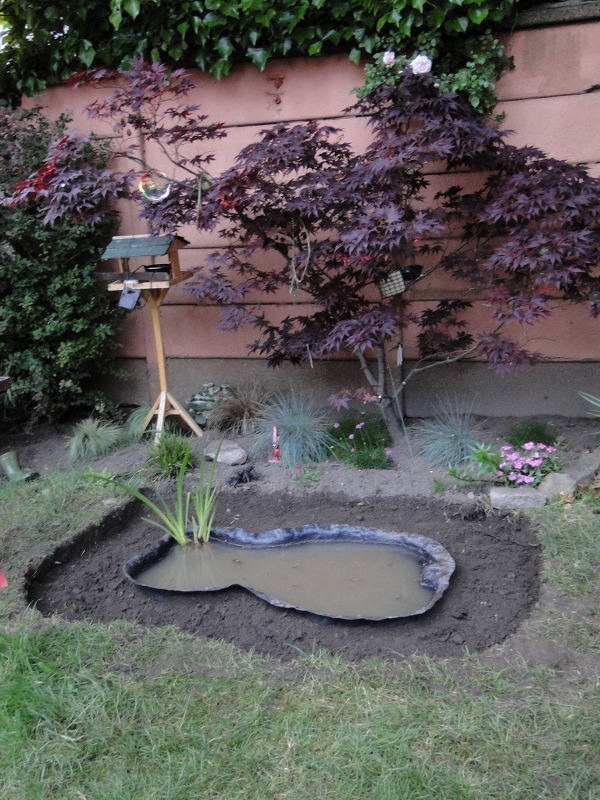
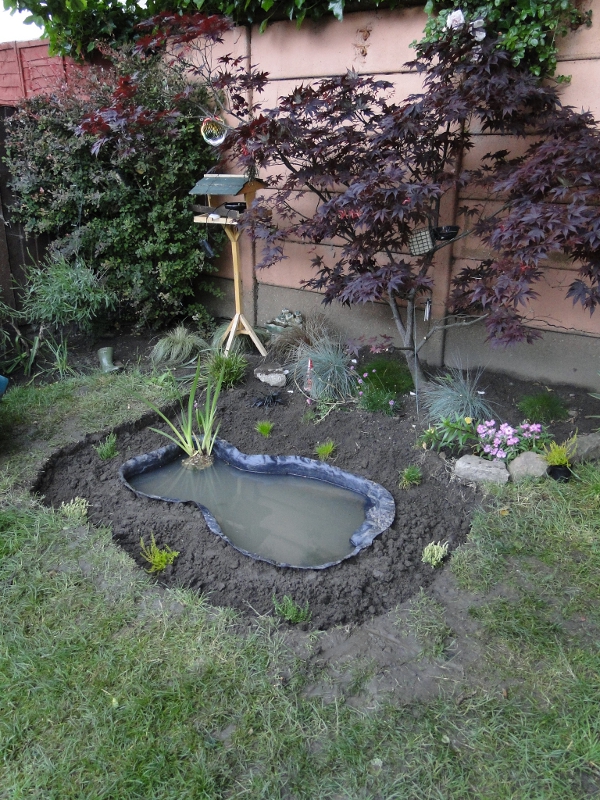
Water Iris put into position.

Very bare!

Looking a little tidier.

View from the garden.

My Wife planting some Heather.

The plan was to have Heather bushes 
growing around the edges of the Pond.

Heather plants in place.

Gravel added to border.

View from the garden.

Next stage will be to add the edging stones.

Monday, 11 June 2012

Pond Project #2 - Beginning

Not long after putting in the 
first wildlife pond I was soon 
thinking about a bigger and better one.

I started looking at some preformed ponds
and decided upon the Bermuda Sands shape.

It seemed a good size, wasn't too deep and
came with a wildlife escape route built in.

Dimensions
Length:  128 x Width.84 x Max Depth.36cm
Volume:  164 litres

The chosen site for the pond was at the back
of the garden just to the front of the Acer tree.


With the site selected,
the digging started.

My Daughter helping out with the dig.

Hard at work.

What a good litte grafter!

I put a large tough plastic sheet
down to the side of the dig site to
put all the excavated earth onto.

The beauty of doing this is that you can
move the plastic sheet around the
lawn daily to avoid damaging your lawn.

This buys you time until you can
do something with all the soil you
have removed from the hole!

Getting deeper.

Taking shape.

Nearly done.

Once the hole was dug I lined the bottom
with some sand and put the liner into place.

Liner in place, water added.

Is it level?

With the liner in place first
impressions weren't too promising.

It looked ugly and it didn't look level to me.

In place, but not much to look at.

Already I was having second
thoughts about the whole thing.

Had I wasted my money on the liner?

What an Eyesore!

As I always say to the Wife
'Rome wasn't built in a Day'.

Obviously it wasn't a finished article yet,
there was much more work needed.

Sifting the soil.

Whilst I contemplated what I was
going to do with my new installation
I set about sorting the freshly removed earth.

I spent a good few hours putting it
through a sieve and must have filled
the green box almost fifty or sixty times.

Most of the soil went back onto the
garden borders and what ever was left over
we took to the local waste centre.

Looks uneven to me!

Despite checking for level during installation, 
after the water was added I was horrified to see 
that the liner was sloping down at one end.

Finally level.

Alot of time and energy was spent
getting it as level as possible.

It wasn't an easy task either,
you try moving 164 litres of water!

When I was finally happy with the level,
I threw in some bunches of Elodea Crispa.

Thursday, 17 May 2012

Pond Project #1 - Beginning

I was in the Library with my girls and one of them had picked up a childrens book about Wildlife and handed it to me to read with them. Inside the book I came across something which really appealed to me, a section titled 'Make your own Wildlife Pond'.  

It was a project to make a Wildlife Pond from a plastic storage box to attract wildlife to your garden. Reading through the pages I became keen to have a go at this myself as I've always been into nature and dreamed of one day having my own Wildlife Pond.

The first task was to find a plastic storage box similar to that in the book, so I paid a visit to the shops until I found something like these:


The book didn't really specify an
exact size so at the end of the day
it's down to your personal preference.


I opted for a box similar to the 
above and the dig began.


I chose a site at the back of
the garden next to the shed
where it wouldn't be disturbed. 


After digging out the hole
I lined the bottom with some sand.

Next I placed the box into the hole before
carefully filling around the sides with soil.

Finally I filled it up with tap water.


After leaving the water a few days
to let any chlorine evaporate,
I added some pond plants.

These were as follows:

Some bunches of  Elodea Crispa,
an Iris, some Starwort and a Scirpus Cernuus.

To complete the look
I added some natural rocks around it.


Just behind the pond I buried a tub
with some holes in it and added a bog plant.


If you look carefully in the photo above
you can just make out the bog plant.

View from the side.

View from the front

Close up view

Close up view

Close up view looking towards bog plant

View from the right front

View from the right front 

View from the garden